Homemade Protein Gummies are easy to make, with just 3 ingredients needed! A fun alternative to drinking your daily protein powder serving!

The thing is, there’s only so much protein I can drink in a day... so I started brainstorming a convenient way to get my protein intake up.
As someone with a wicked sweet tooth, the answer was pretty obviously: High protein gummy recipes!
As much as I love regular gummy bears - and pretty much any other gummy candy you can think of - they do absolutely nothing to help my health goals.
I want to have better energy levels and gain lean muscle mass... not crash out on sugar and gain more fat!
Sure, they’re not shelf stable, and don’t QUITE have the same texture (that would require some weird ingredients and a lot of fussy work!), but it’s a delicious snack that scratches the itch.
And really, who doesn’t love a high protein snack that doesn’t really FEEL like an overly healthy snack?
We all have our vices, right? I’m all about mitigating the consequences of indulging in my own vices.
Anyway, this is a super basic homemade protein gummies recipe. Just a couple ingredients, with the flavour coming from your choice of protein powder. No need to get special flavouring oils or anything!
Anyway, let’s look at the ingredients and technique for making homemade protein gummies!
Ingredients
You’ll only need 2 ingredients (and 2 optional ones!) to make your homemade protein gummies.
You’ll be able to find most of what you need in larger grocery stores... but you’ll probably want to hit up a sports nutrition place for the best selection of protein powder.
I have a TON of information for you, when it comes to the protein powder... and then a few short ingredient notes for the rest of it:
Protein Powder
A few considerations to keep in mind when deciding on the right protein powder for your gummies:
Type of Protein Powder
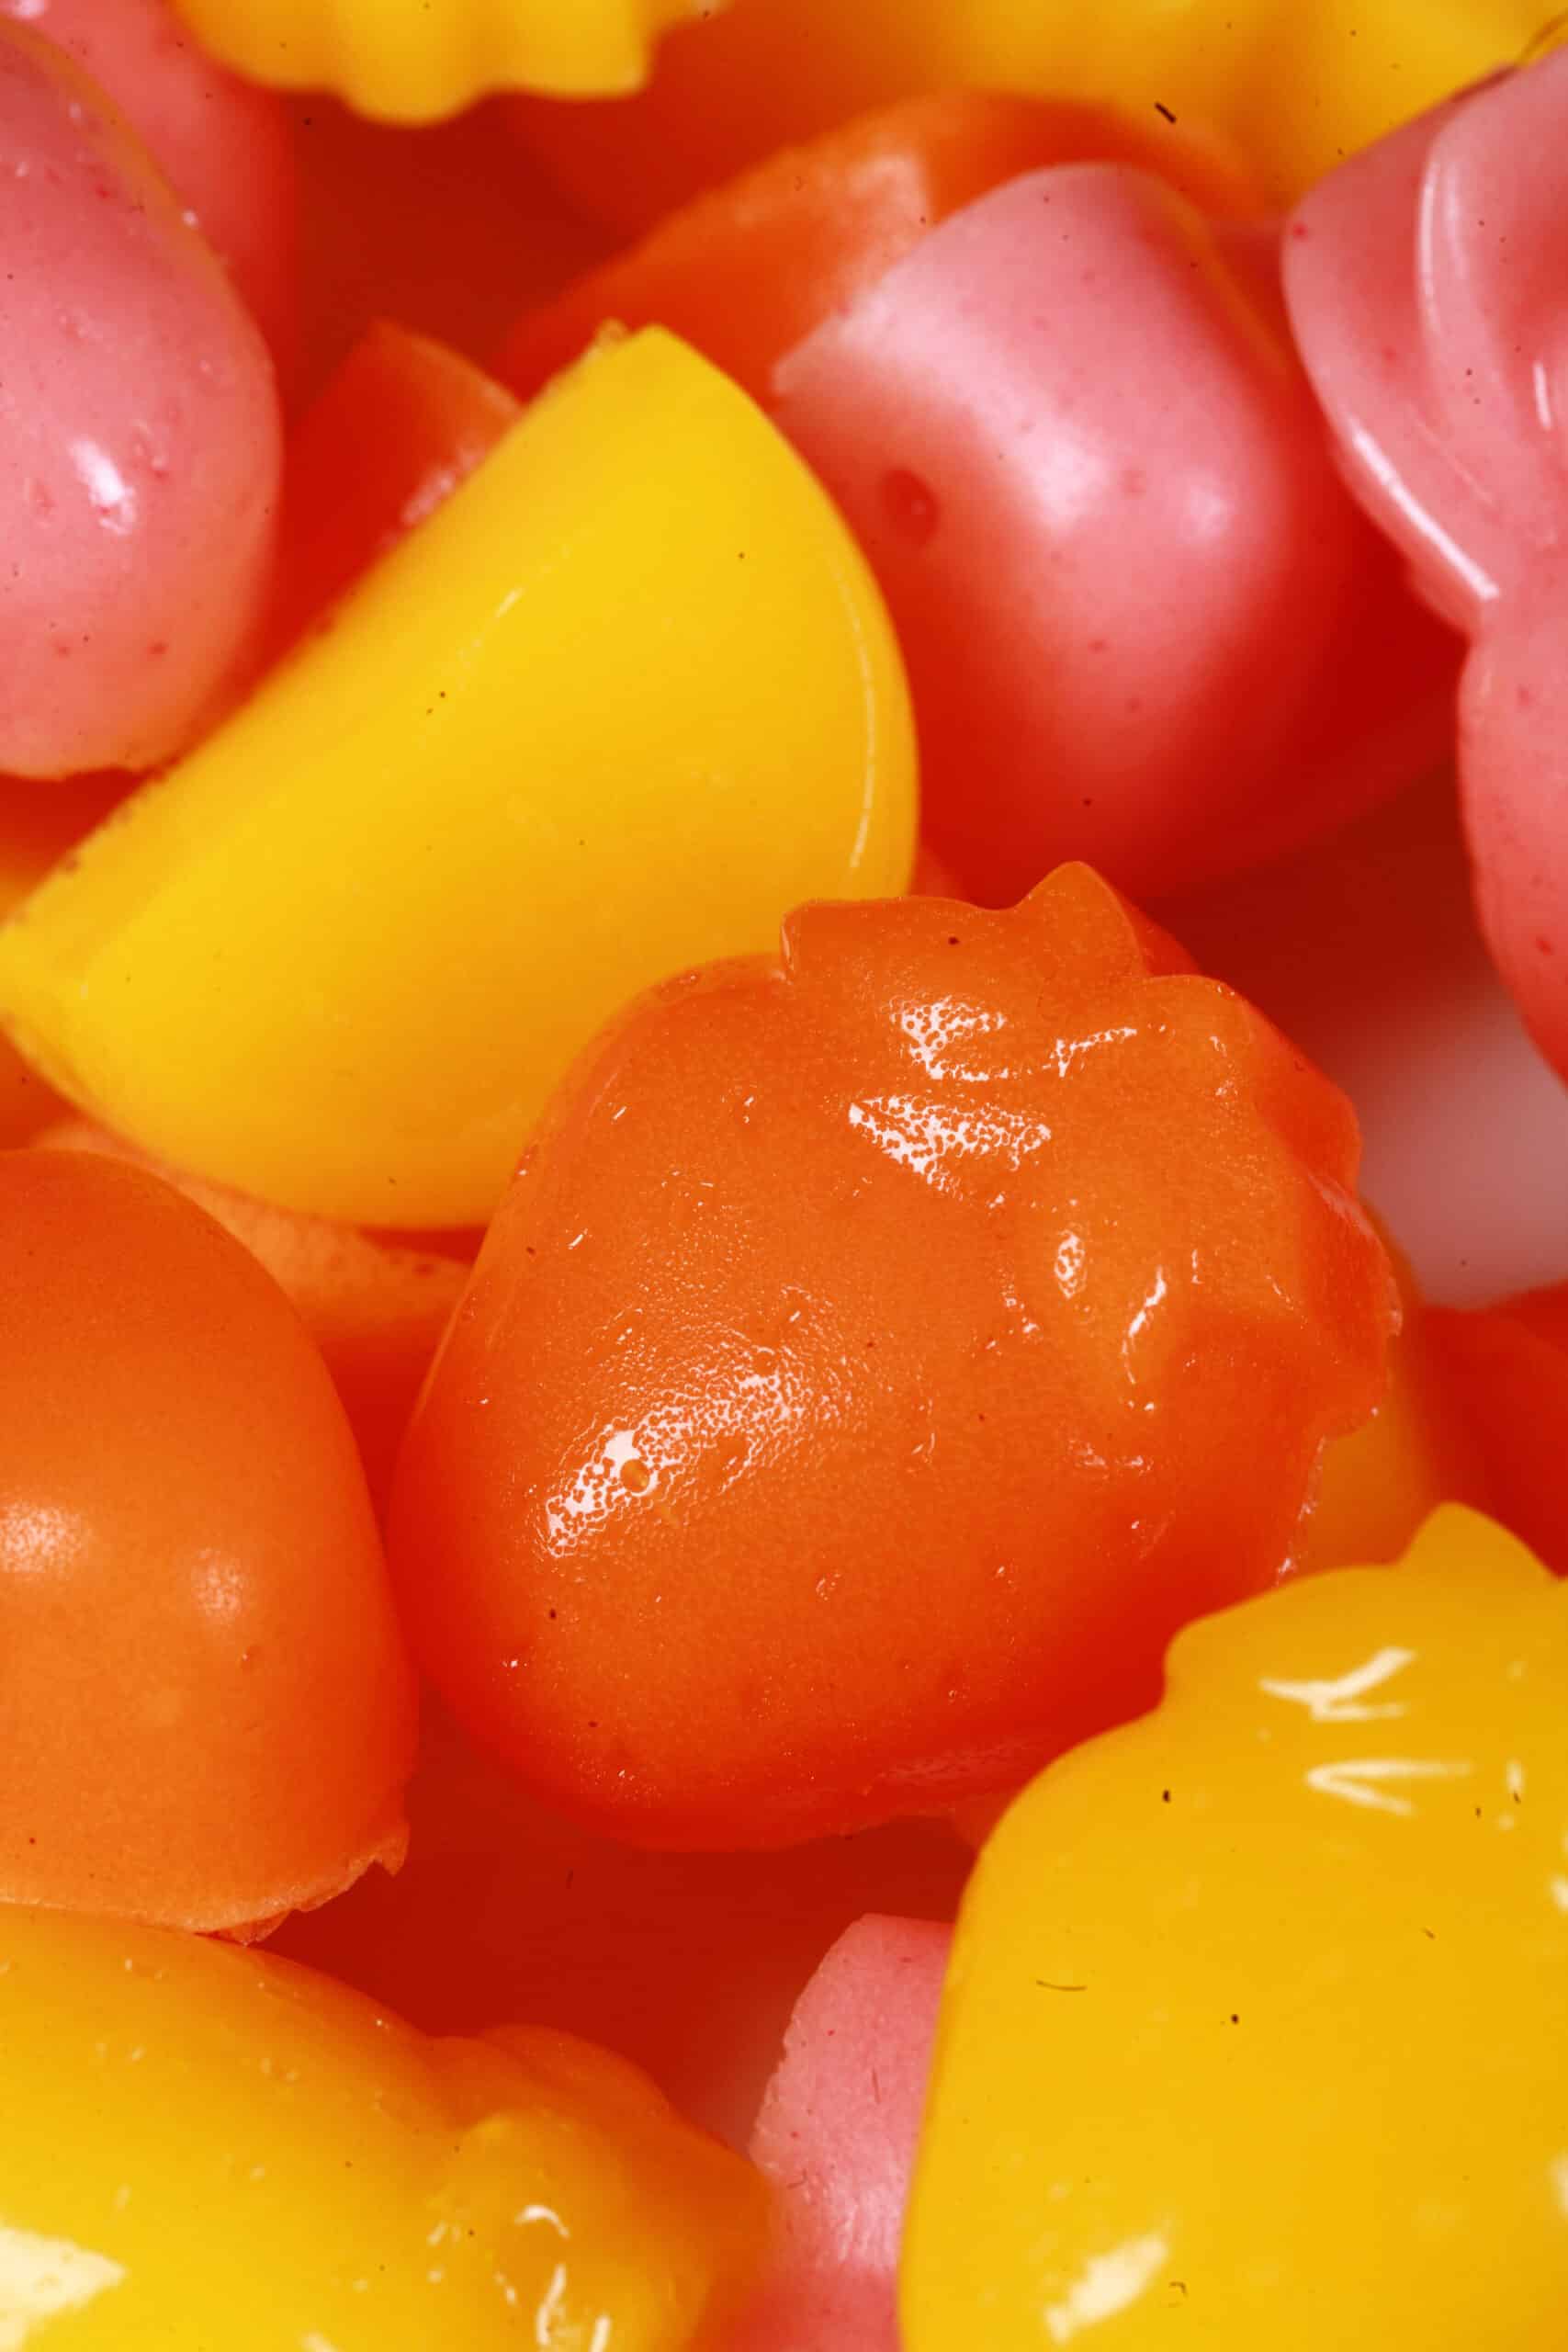
Any protein powder will work in this recipe, with the caveat being that the type of protein will influence the appearance and texture of the gummies.
Generally, I stick to whey based protein powders... but if you find a plant-based protein you like, feel free to use it.
Really though, this is a recipe I recommend trying with a variety of protein powders, and see what texture you like best!
Personally, I prefer to use some version of Clear Whey Protein, ideally with essential amino acids included.
If the protein powder you pick mixes up to a clear liquid, you’re more likely to get transparent gummies.
If your protein powder mixes up to a thick and milky liquid, the gummies will have that creamy, milky look and texture as well.
Many “clear” brands won’t actually make transparent - or even translucent - gummies, but they generally won’t have the “milky” thing going on, either.
Flavour Considerations
I like to skip the “natural flavor” types, and go straight to the candy flavoured protein powders. They’re just SO on-brand for making gummies, it’s really efficient!
After all, you can buy protein powder flavoured like Sour Watermelon gummies, Swedish Fish, Gummy Bears, blue sharks, and more - perfect!
Overall, though, just pick a flavour you like, that you’d like as a candy, and that fits your macros and dietary needs.
Variations in Appearance
I’ve already touched on the milky vs transparent thing, but there are a few other things to keep an eye out for:
Foaming
If you use a “sour” type flavour - usually with some form of citric acid involved - your gummies can foam up.
You can premix the protein and water and let it chill ahead of time, to get rid of some the foaming ... but most will foam up again as you whisk in the gelatin.
It’s can be a fun texture when it sets, though!
Bloom
Another thing that may happen is that - with some protein powders - your gummies may develop a sort of “bloom” after sitting for a few hours.
You know how chocolate sometimes has a whitish haze to it? Same sort of idea, different cause.
Anyway, much like with chocolate bloom, this is totally harmless. Your bloomy candies may not be quite as cute, but they’ll still be tasty!
Mixed Batches
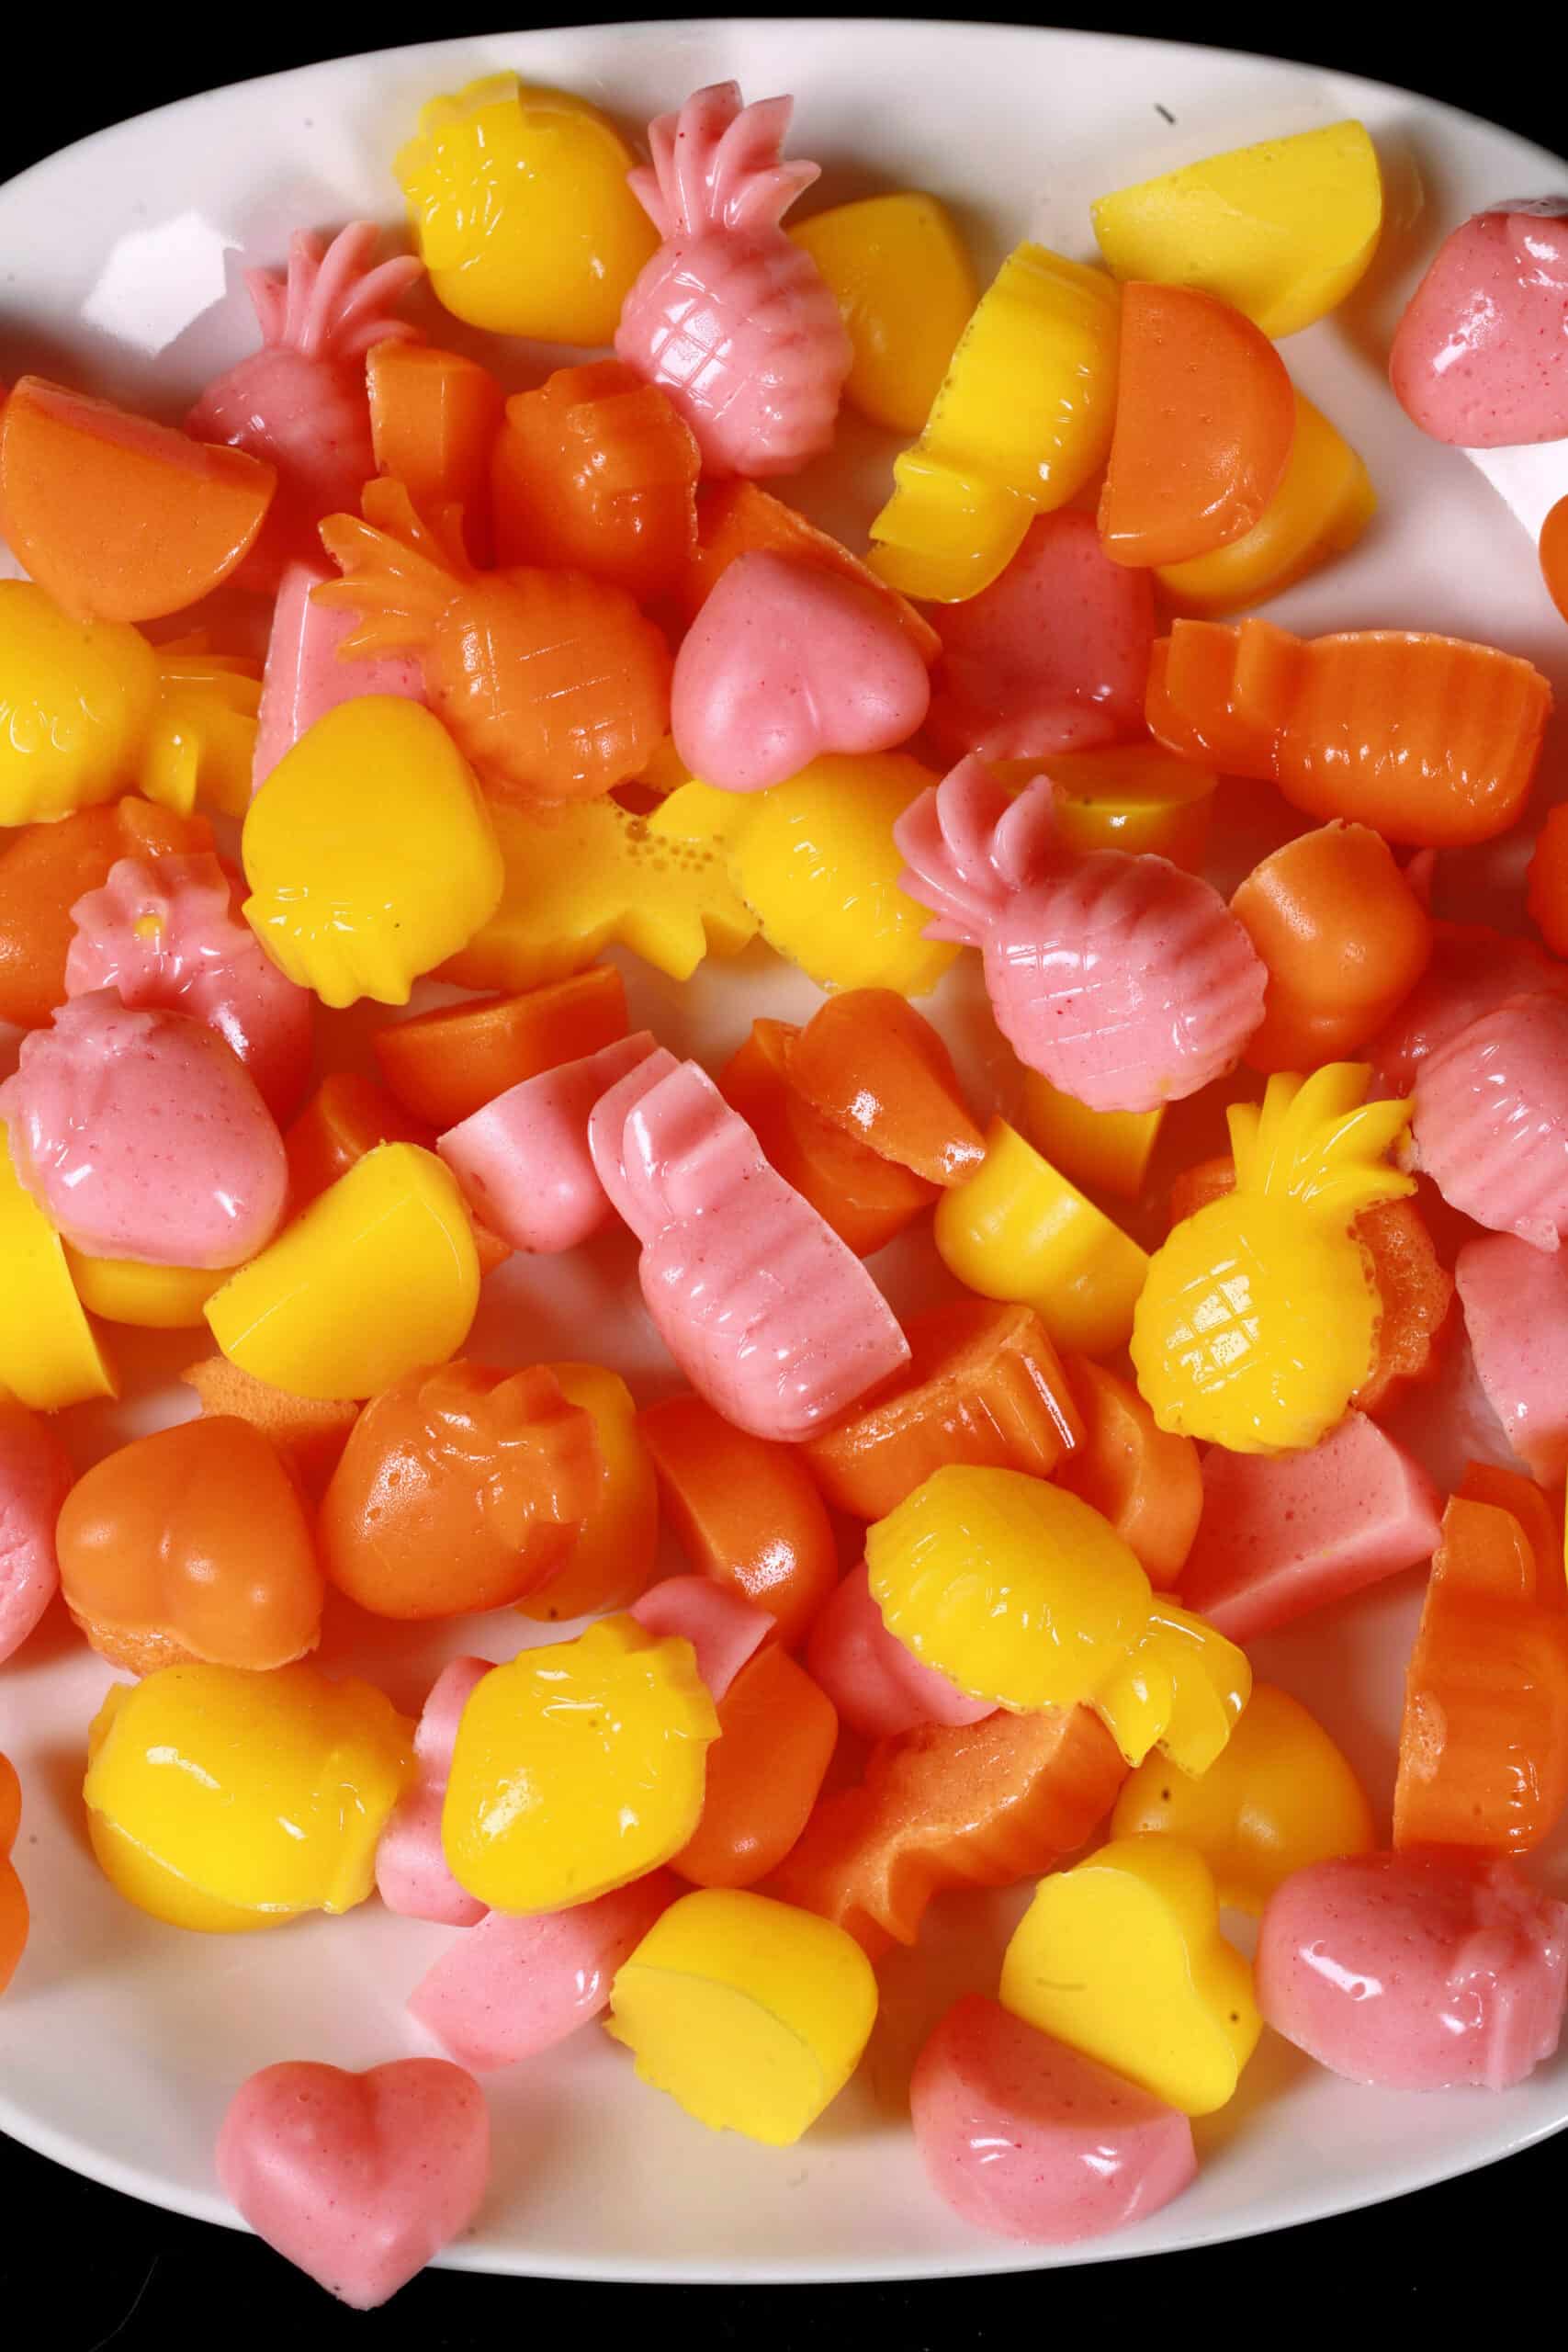
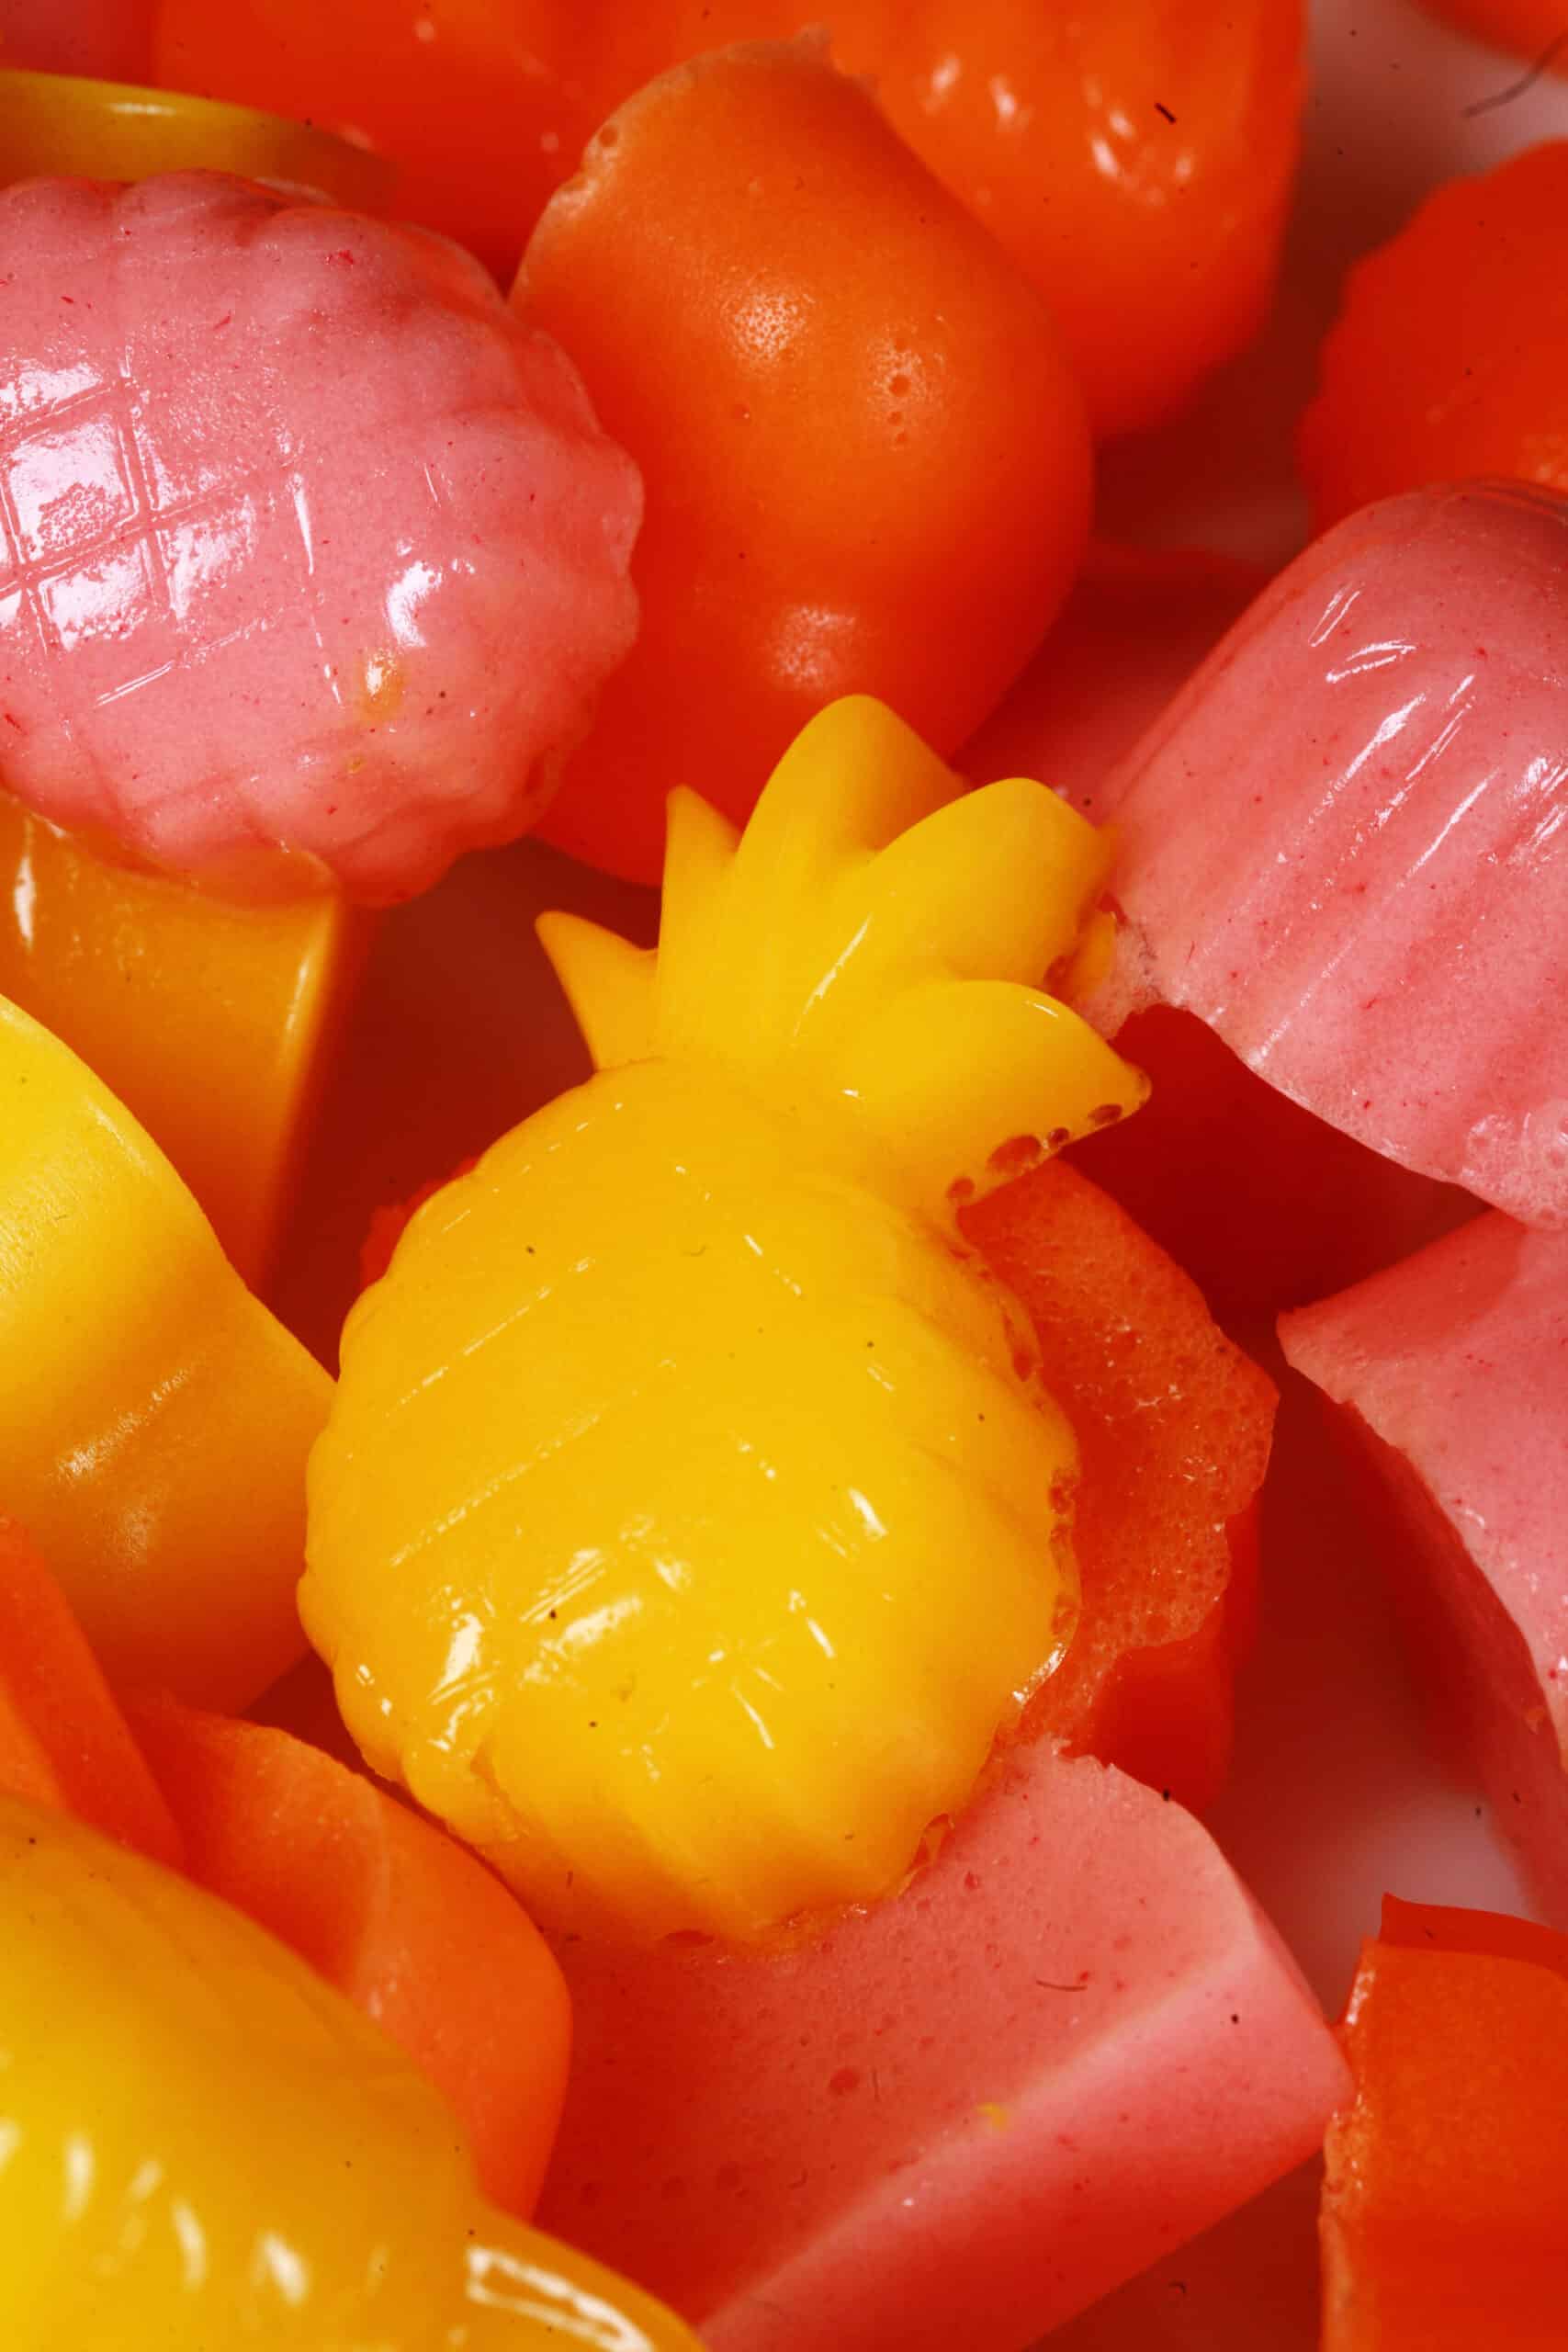
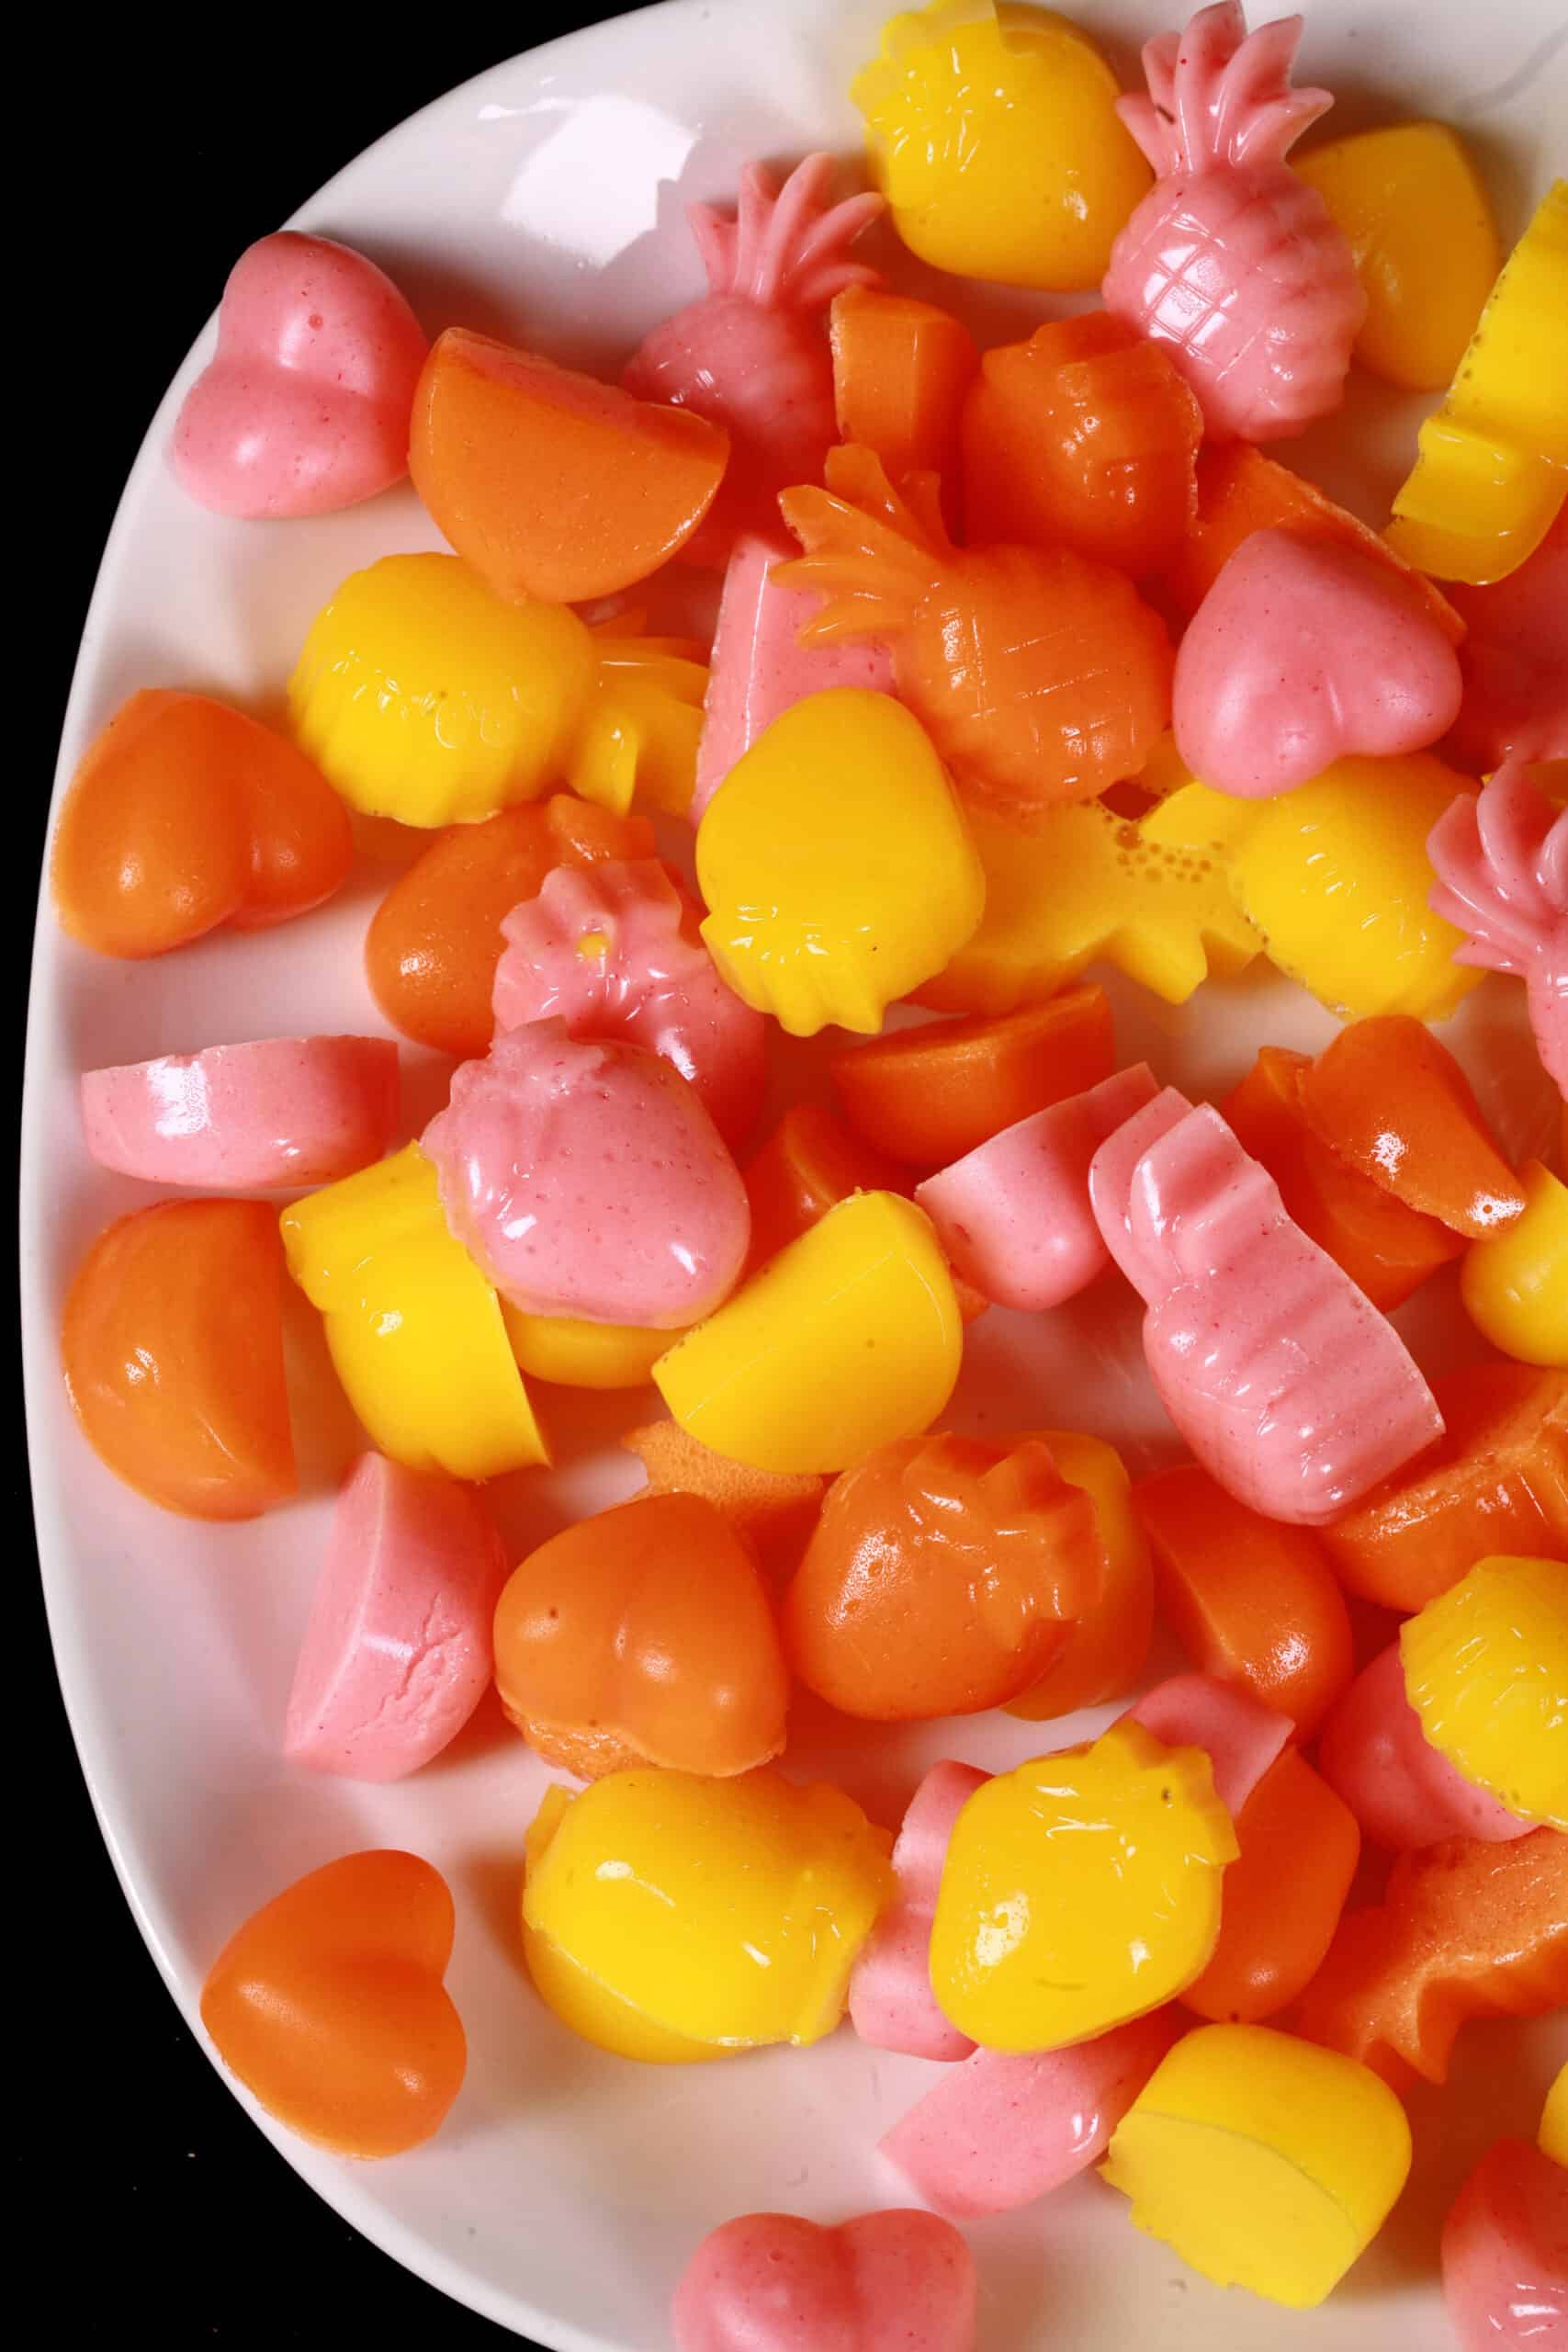
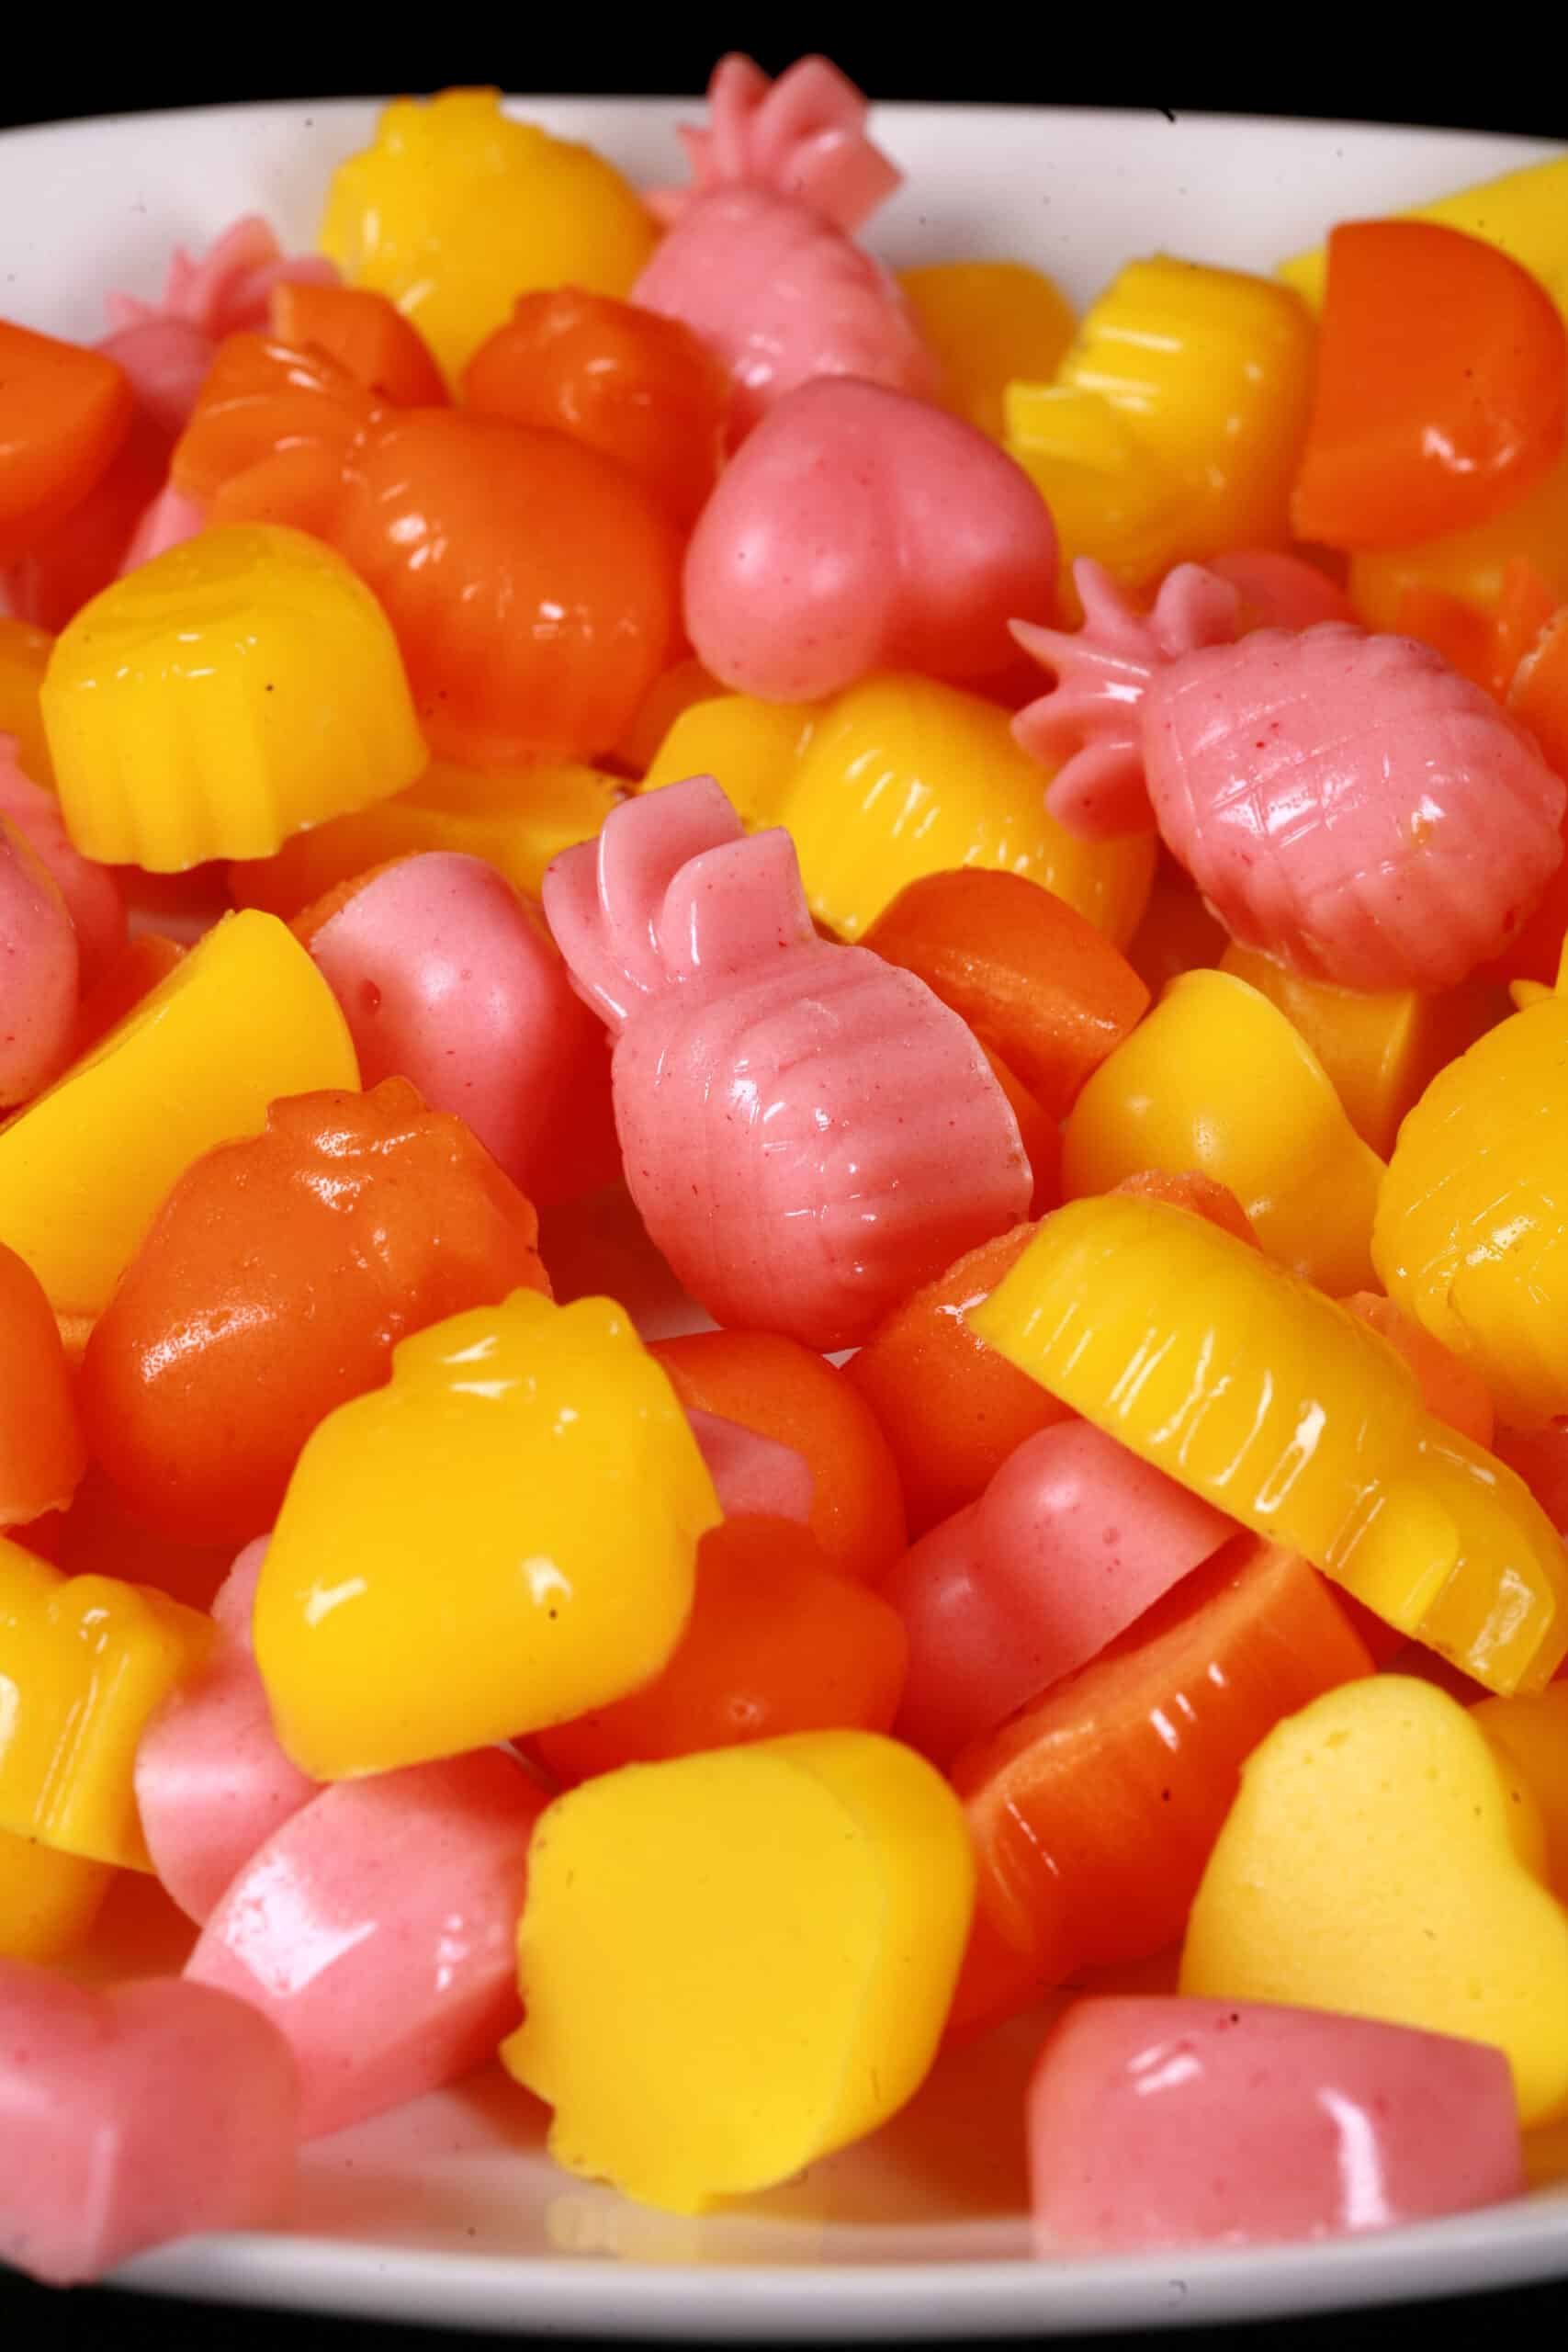
If you’re looking to have a mixed batch of gummies - as pictured - you’ll need to do them up as separate batches.
This can lead to ending up with a LOT of gummies... but you can do up half batches, to make it more manageable.
This would be ½ cup water, 1 scoop protein powder, and 1 ½ tablespoon gelatin... plus food colouring and/or citric acid, if you like.
Nutrition
For the sake of accuracy, the Nutritional Information provided does NOT include the protein powder - This is because those values vary wildly from brand to brand.
The recipe is done up to be 2 servings, and uses 2 scoops of protein powder.
So, to get the nutritional value for one serving, just add the grams of protein, etc in ONE serving of the protein powder, to the values listed in the recipe card at the end of this post.
As an example, if your protein powder has 20 grams of protein per serving, you’ll add that to the 22 grams of protein that come from the gelatin, and you’re looking at 42 grams per serving.
That said, if you want to look at this as 4 servings, you’ll do the same, then just divide it in two.
In this case, it would be a 21 g protein serving for ¼ of the batch.
Gelatin
I use Unflavored Beef Gelatin Powder, which I buy in 1 lb containers.
I use it in a lot of recipes - even beyond my homemade protein gummies - so I go through a LOT of the stuff.
Buying by the lb is far more economical that buying the little packets of Knox gelatin!
Whether you’re buying in bulk or not, just be sure that the gelatin you’re using is an unflavoured variety.
Whatever you end up using, just be sure it’s unflavored. You don’t want your gummies having a weird beefy undertone, after all!
Optional Ingredients
There are two other ingredients that you may choose to use:
Food Colouring
If your protein powder is un-coloured - or mixes up to a pale colour - you might want to add a few drops of food colouring, to brighten your gummies up.
IMHO, gummies should be bright and cheerful!
While I usually recommend using gel colour for the VAST majority of my recipes that call for food colouring, this is an exception.
A couple drops of liquid food colouring goes a long way. Gels can sometimes kind of “clot” in this recipe, and may or may not fully mix in.
Citric Acid
While optional, Citric Acid serves a couple of purposes.
It can bring a nice “sour candy” flavour to your homemade protein gummies. Even if you don’t take it all the way to being sour, a bit of citric acid can brighten up a protein powder that tastes more “flat”.
Citric acid also extends the life of your protein gummy candy, which is important if you want it to last more than 3 days or so.
Because this is a gelatin based gummy - rather than using traditional boiling/starches/etc in retail gummies - it’s susceptible to mold growth.
After all, you’re basically making up colorful and tasty agar medium, in cute shapes! (This is also why you have to keep them in an airtight container in the fridge!).
Citric acid discourages growth, at least to some degree.
Equipment
I use a couple pieces of basic kitchen equipment for this, plus some more specialized stuff.
First off, you’ll need a small pot, a whisk - ideally a Sauce & Gravy Whisk, to prevent the mixture from burning on the bottom of the pan.
Then, you’ll need something to pour the gelatin into.
I am a HUGE fan of gummy molds, and probably have more than I’ll ever need. My go to shapes are:
Dinosaur Gummy Mold
Gummy Worm Molds
Gummy Bear Molds
... but I also love other Gummy Animal Molds.
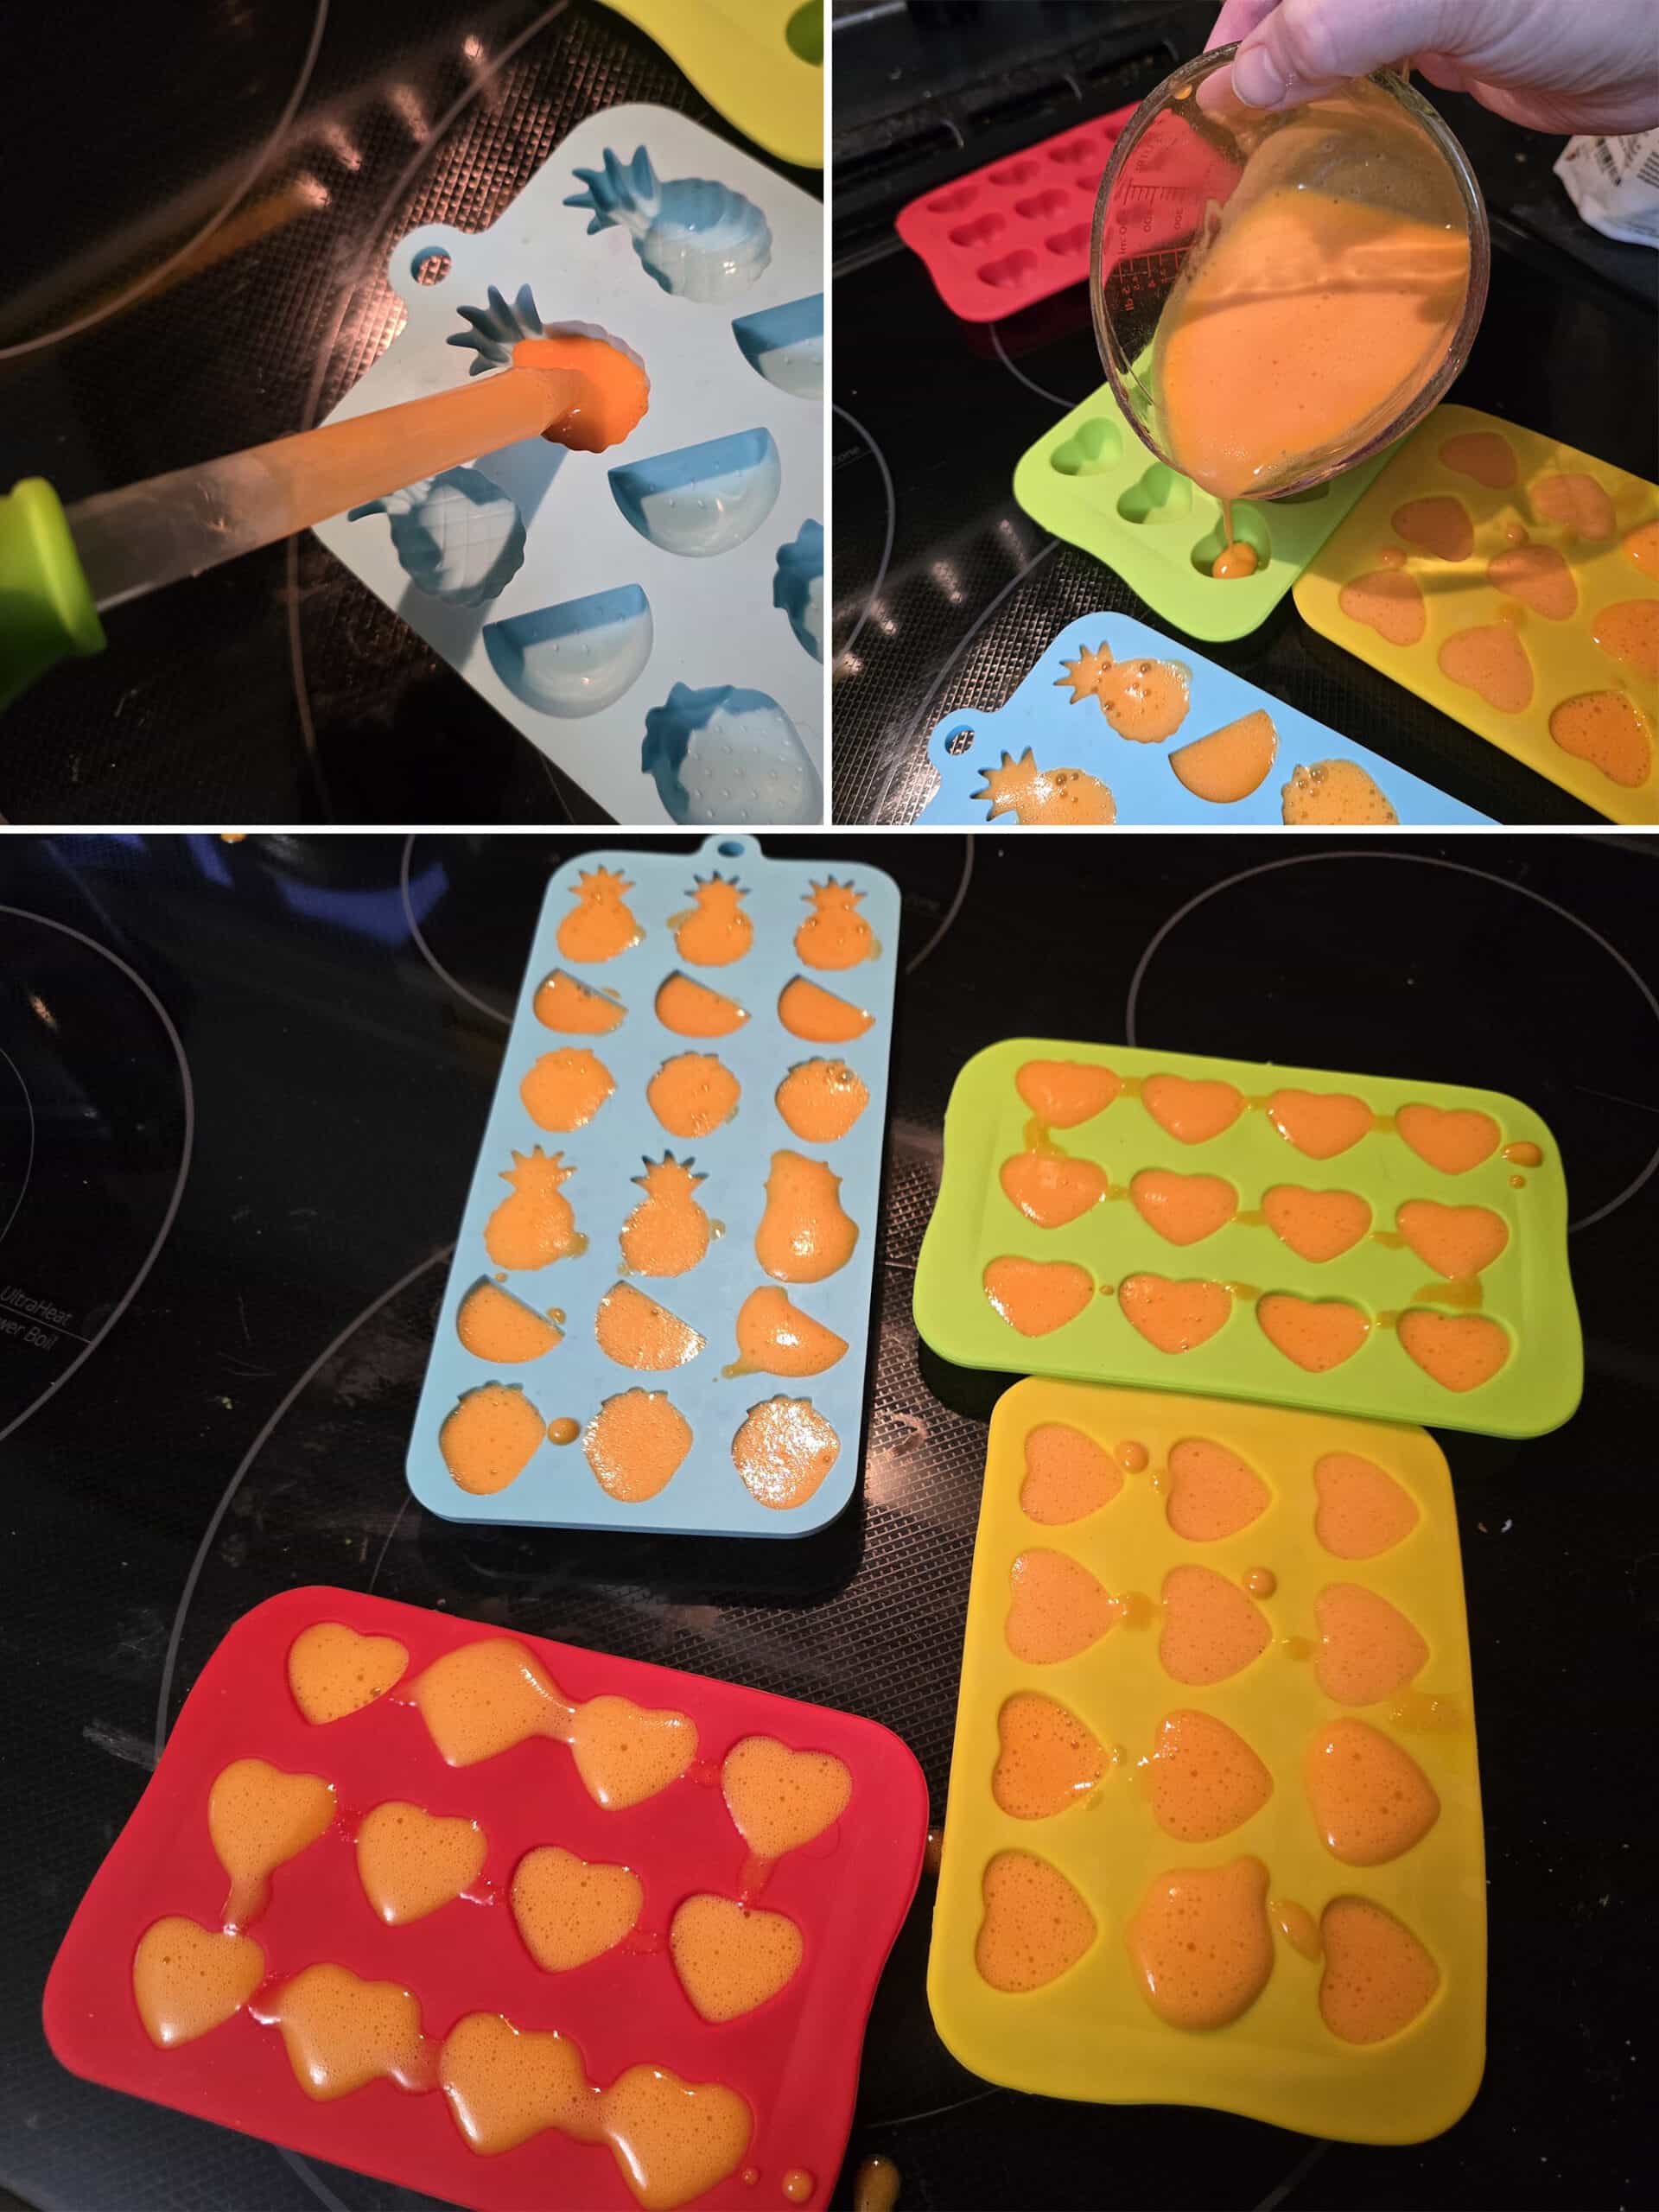
If you’re using gummy molds, most will come with a dropper.
Unless I’m making REALLY small and fussy gummies, I skip this altogether. It takes a while to dropper all of the mixture into the molds, and it can start to set before you’re done.
So, I prefer to pour it all into a glass measuring cup, and gently pour it into the molds.
Anyway, if you don't have gummy molds, you can just pour the whole batch into an 8 x 8 pan, cutting into squares when set.
Alternatively, silicone mini muffin pans work great!
Share the Love!Before you chow down - and protein up! - be sure to take some pics of your handiwork! If you post it to Bluesky, be sure to tag us - @CelebrationGen. We're also on Pinterest, so you can save all your favourite recipes to a board! Also, be sure to subscribe to my free email newsletter, so you never miss out on any of my nonsense. Well, the published nonsense, anyway! |
How to Make Homemade Protein Gummies
The full recipe is in the printable recipe card at the end of this post, here is a pictorial walk through:
In a small pot, whisk together protein powder and gelatin. Add water, continue whisking until no lumps remain.
Whisk in ¼ teaspoon citric acid, if using. Taste, add more if desired.
NOTE: If you’re using a “sour” variety of protein powder, you may end up with a fair amount of foam after mixing.
You can premix the protein and water (in a shaker bottle) and let it chill ahead of time, to get rid of some of the foam.. but it’ll foam up again as you whisk in the gelatin.
If this happens, no worries - it’ll still work, but might have a fun marshmallowy texture when it sets!
If you'd like, add a drop or two of food colouring. The protein powders I tend to use are light to white in colour - I like my gummies to be bright and colourful!

This is why I like to colour it. That pale peach colour isn't very candy like, IMHO!
Working quickly, pour mixture into clean gummy molds. (You can use an eye dropper, but it’s way fussier and sets really fast!)
NOTE: if you don't have gummy candy molds, you can just pour the whole batch into a 9x13 pan, and cut it into squares when set. Silicone mini muffin pans are another option.
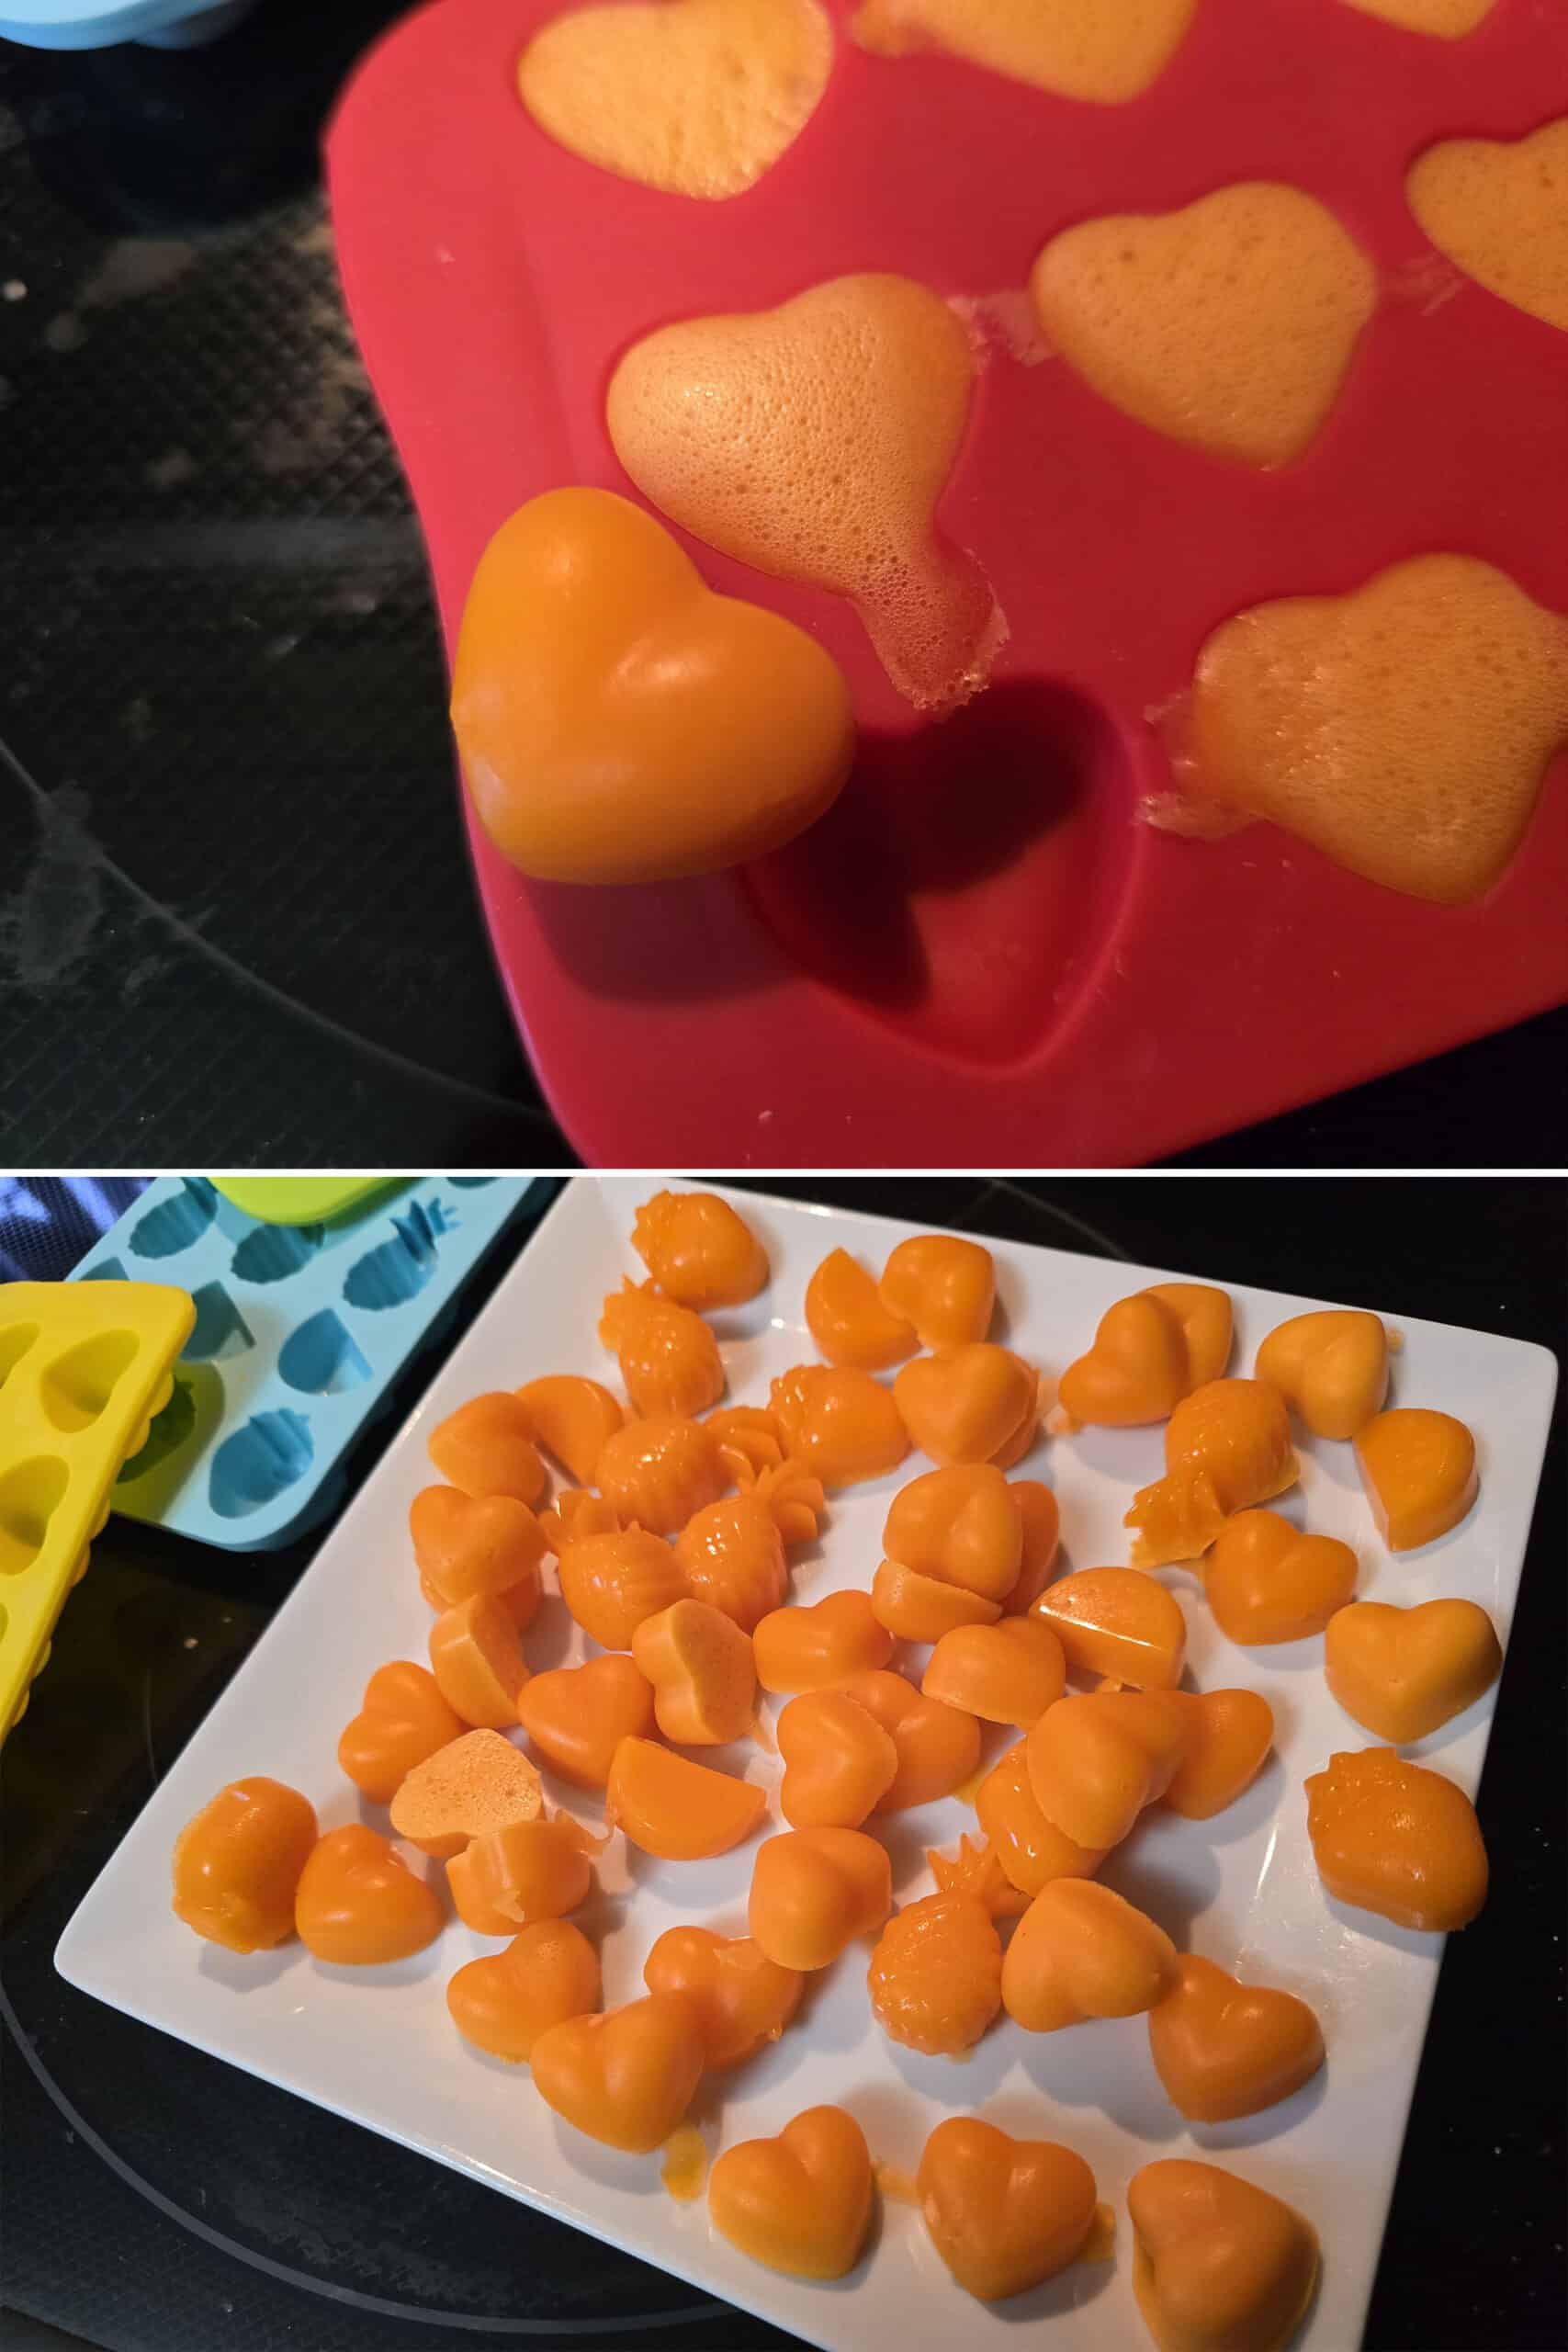
Allow gummies to set - it'll take an hour or so at room temperature, or 10-15 minutes if refrigerated.
NOTE: If you’re chilling them for a faster set, I recommend letting them sit for about 10 minutes at room temperature to gel up a bit. It lessens the chances of spillage when transferring them to the fridge!
Once set, pop your gummy candies out of the mold and transfer to an airtight container or zipper baggie.
STORAGE
Keep gummies in an airtight container in the fridge for at least a day or two. Actual time will vary based on your protein powder, how clean your handling was, and whether you use citric acid.
If mold starts to grow on any of them, throw the remaining protein gummies out and wash your storage container well!
SMALLER BATCHES
If you want to do smaller batches to be able to make mixed servings, you can do ½ cup water, 1 scoop protein powder, and 1 ½ tablespoon gelatin.
More High Protein Snacks and Meals!
Looking for more high protein, low carb drink mixes that can be made ahead? I've developed a whole series of instant drink mix recipes:
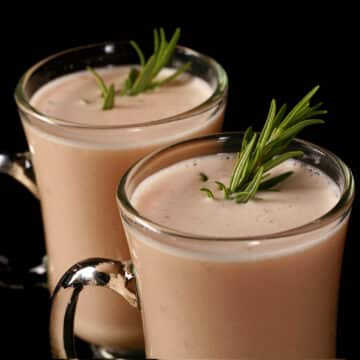
Cream of Chicken Soup Mix (High Protein)
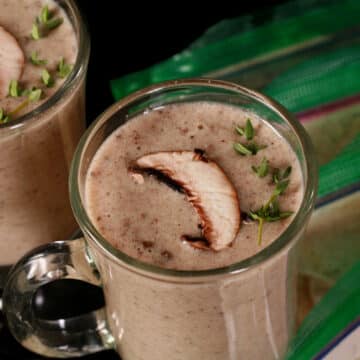
Cream of Mushroom Soup Mix (High Protein)
Protein Pudding
Homemade Protein Gummies [Gluten-Free, Sugar Free, Keto]
Equipment
- Small pot
- Gummy Molds
- Dropper, optional
Ingredients
- ¼ cup Unflavoured Gelatin Powder
- 2 Scoops Clear Protein Powder of choice SEE NOTES ABOUT NUTRITION!
- 1 cup Water
- Food Colouring Optional
- ¼ teaspoon Citric Acid Optional - or more, as desired.
Instructions
- In a small pot, whisk together protein powder and gelatin. Add water, continue whisking until no lumps remain.
- Whisk in ¼ teaspoon citric acid, if using. Taste, add more if desired.
- NOTE: If you’re using a “sour” variety of protein powder, you may end up with a fair amount of foam after mixing. You can premix the protein and water (in a shaker bottle) and let it chill ahead of time, to get rid of some of the foam.. but it’ll foam up again as you whisk in the gelatin. If this happens, no worries - it’ll still work, but might have a fun marshmallowy texture when it sets!
- If you'd like, add a drop or two of food colouring. The protein powders I tend to use are light to white in colour - I like my gummies to be bright and colourful!
- Heat mixture over low heat, whisking constantly, until gelatin is completely dissolved and mixture is smooth. Turn heat down to lowest setting
- Working quickly, pour mixture into clean gummy molds. (You can use an eye dropper, but it’s way fussier and sets really fast!)
- NOTE: if you don't have gummy candy molds, you can just pour the whole batch into a 9x13 pan, and cut it into squares when set. Silicone mini muffin pans are another option.
- Allow gummies to set - it'll take an hour or so at room temperature, or 10-15 minutes if refrigerated.
- NOTE: If you’re chilling them for a faster set, I recommend letting them sit for about 10 minutes at room temperature to gel up a bit. It lessens the chances of spillage when transferring them to the fridge!
- Once set, pop your gummy candies out of the mold and transfer to an airtight container or zipper baggie.
STORAGE:
- Keep gummies in an airtight container in the fridge for at least a day or two. Actual time will vary based on your protein powder, how clean your handling was, and whether you use citric acid.
- If mold starts to grow on any of them, throw the remaining protein gummies out.
Notes
Nutrition

Thanks for Reading!... and hey, if you love the recipe, please consider leaving a star rating and comment! |


Porters
On of my favourite high protein snacks- hope you love this recipe as much as I do!
Phil
Is the amount of water correct? 1 scoop of powder for a drink usually calls for 14-16 oz of water, 1 cup is only 8. I couldn't get the powder to dissolve in a cup, 2 I got it somewhat but still a little powdery. I'll keep playing around but just wondering if you've had similar experiences
Porters
Yes, it's right. The proportion of water on a package is for it to be a drink. When making candies, you want a much more concentrated flavour.
You might want to try heating your water if it's not dissolving properly - I've never had that issue, across several different types of protein powder. What are you using?